
SawStop Basic Handling
& Maintenence
Important SAFETY
& FINANCIAL POLICY Information
⚠️ FINANCIAL RESPONSIBILITY WARNING ⚠️
PLEASE READ CAREFULLY: All members are financially responsible for the cost of resetting the SawStop safety system if they trigger the brake.
If you trigger the brake, you will be charged:
~$120 for a replacement Brake Cartridge
~$50 for a replacement Saw Blade
This is generally the only equipment damage we charge for. Please understand how the system works (below) to avoid this cost.
How the Brake Works
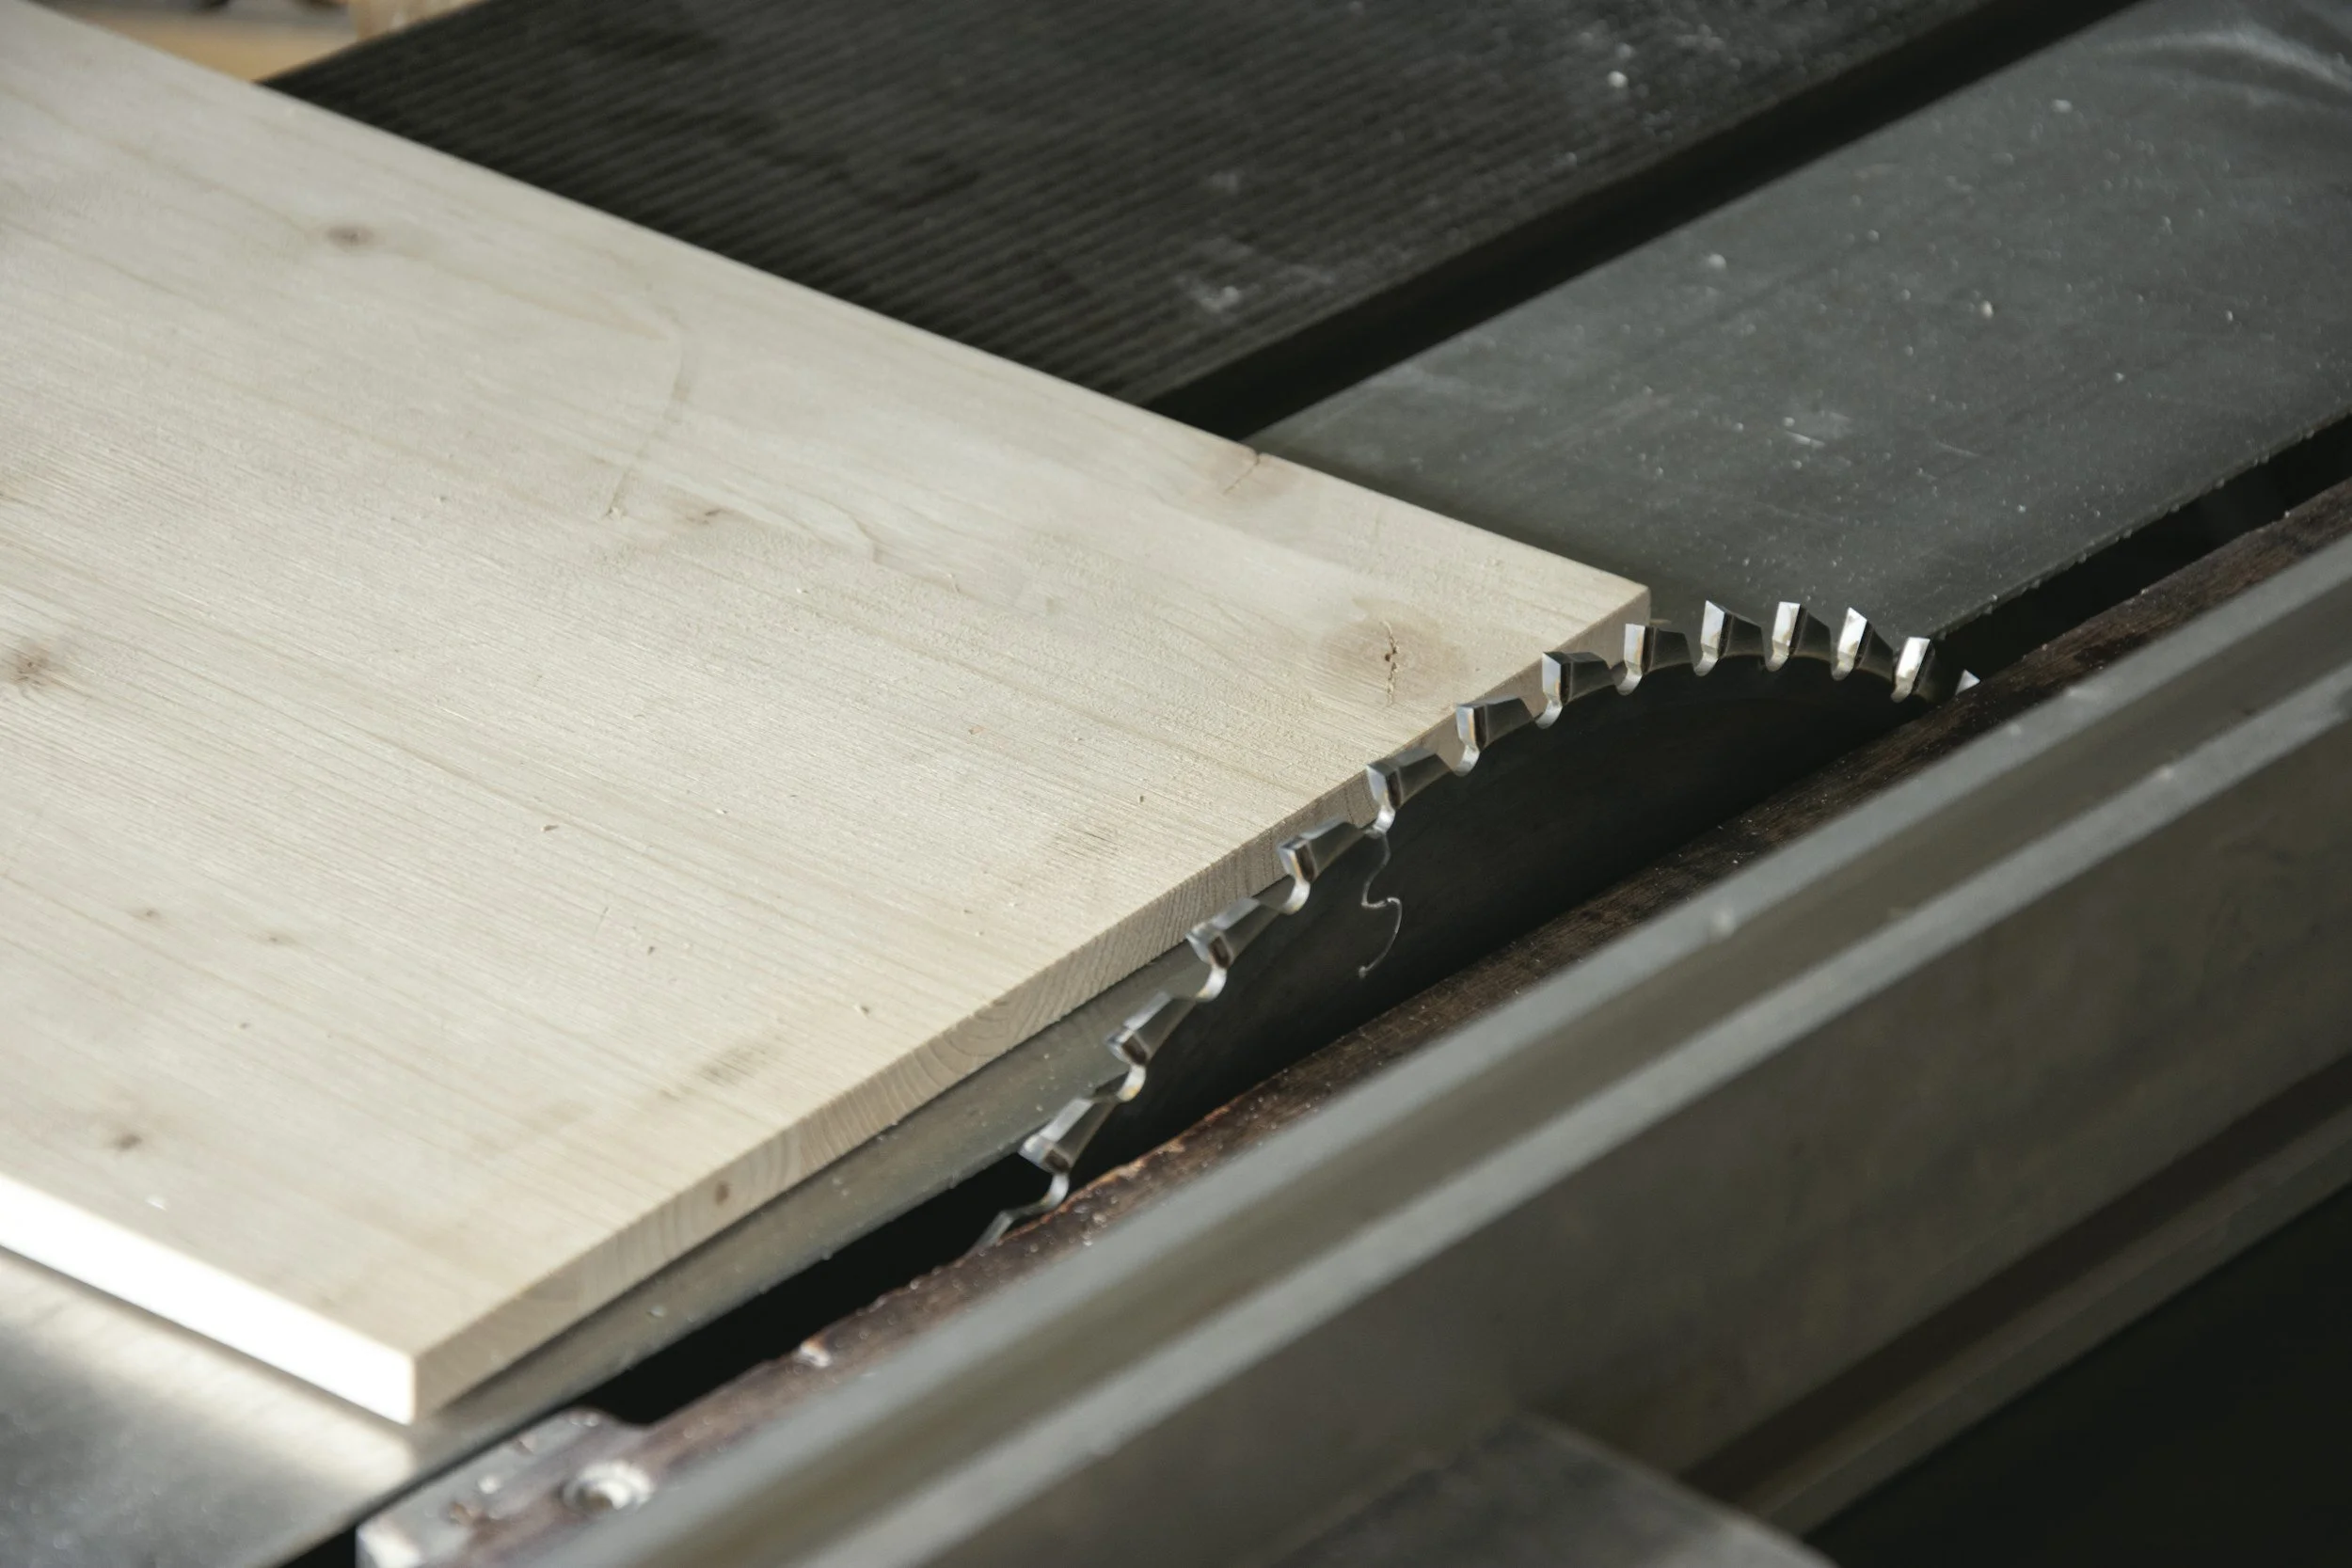
The SawStop safety system is sophisticated, but the concept is simple. The blade carries a small electrical signal that is continuously monitored by a digital signal processor. Because the human body is conductive, contacting the blade changes this signal.
The Reaction: When that signal change is detected, a heavy-duty spring forces an aluminum brake pawl into the teeth of the spinning blade.
The Result: The teeth dig into the aluminum, stopping the blade cold and retracting it below the table in milliseconds.
How to Avoid Activation (Do's and Don'ts)
To avoid accidental activation (and associated fees), you must check your material before cutting. The system cannot distinguish between a finger and other conductive materials.
DON'T cut wet wood. Moisture increases conductivity.
DON'T cut pressure-treated lumber that is not fully dry (the copper chemicals are conductive).
DON'T cut wood with embedded metal (nails, staples) or foil backing.
DON'T use conductive materials like mirrored acrylic, carbon fiber, or laser-cut wood with heavy char
DO use the "Bypass Mode" (see below) if you must cut conductive material.
DO check for metal parts on jigs or fences that might touch the blade.
Bypass Mode
If you need to cut electrically conductive material (like aluminum or wet wood), you must temporarily disable the safety system using Bypass Mode.
To Activate Bypass Mode:
Ensure the Start/Stop paddle is OFF and the Main Power is ON.
Turn the Bypass Key clockwise and hold it for at least 1 second (Wait for the red LED to flash once).
While still holding the key, pull the Start/Stop paddle to ON.
Keep holding the key for another 1 second after the motor starts (Wait for the red LED to flash again).
Release the key. The Green LED should blink slowly to indicate the brake is disabled.
Note: The safety system automatically re-engages once the blade stops spinning.
Basic Safety
While the brake protects against serious amputation, standard table saw safety still applies:
Kickback: Always use the riving knife or blade guard to prevent the workpiece from being thrown back at you.
Hand Position: Keep hands out of the line of the saw blade and never reach around or over the saw.
Push Sticks: Use a push stick when your hand would otherwise be within 6 inches of the blade.
Freehand Cutting: NEVER perform a cut freehand; always use the fence or miter gauge.
MAINTENANCE LIBRARY
Recovering an Activated Brake
Procedure: Disconnect power and remove the table insert. Reset the arbor retraction by turning the elevation wheel counter-clockwise until it clicks, then raise the arbor. Unlock the cartridge key and use a blade wrench to lever the brake and blade off the mounting pins together.
Blade Brake Spacing (The Nickel Test)
Procedure: The gap between the blade and the brake rim must be between 1/16" and 3/32" (about the thickness of a nickel). To adjust, use the yellow brake positioning bolt on top of the arbor block: turn clockwise to decrease spacing or counter-clockwise to increase it.
Fence Alignment
Procedure: Check that the fence is parallel to the miter slot. If it is misaligned, loosen the two screws on the fence tube assembly using a hex key, adjust until the fence face is flush with the miter slot edge, and retighten.
Cleaning and Lubrication
Procedure: Use compressed air to blow out dust from internal components (trunnions, gears). Clean the elevation threaded rod and worm gears, then apply a light coat of lithium grease (do not use dry lube).
Belt Replacement
Procedure: Open the belt guard and tilt the saw to 45° to relieve tension. Remove the old belt and install the new one, ensuring the ribs align with the pulley grooves. If pulleys are misaligned, adjust the motor position or add washers to the mounting bolts.
Still Have Questions? We're Here to Help!
Didn't find what you were looking for? We're always here to support our community.